
howto
Updating a Node-Locked Creo License
How to update a node-locked Creo license file after a renewal, upgrade, or new file from PTC.
A node-locked Creo license is tied to a specific workstation using its Host ID. You may need to update the license file after upgrading to a newer Creo release, renewing or changing your PTC licenses, or receiving an updated license file from PTC.
If Creo is already installed, you do not need to reinstall the application just to update the node-locked license. The new license file can be applied using Creo Reconfigure.
1. Retrieve the Updated License File
Before reconfiguring Creo, make sure you have downloaded the updated node-locked license file for the workstation.
If you still need to retrieve the file, see:
[Retrieving and Installing PTC Licenses]
If you need to verify the Host ID of the workstation, see:
Important: A node-locked license must match the Host ID of the computer where it will be used. If Creo is being moved to a different computer, the license must first be moved or reassigned through PTC's licensing tools.
2. Locate Creo Reconfigure
For a typical Creo Parametric installation, the Reconfigure utility can be found at:
C:\Program Files\PTC\Creo <version>\Parametric\bin\reconfigure.exe
Or, more generally:
<Creo Load Point>\Parametric\bin\reconfigure.exe
Run:
reconfigure.exe
to open the PTC Creo Installation Assistant.
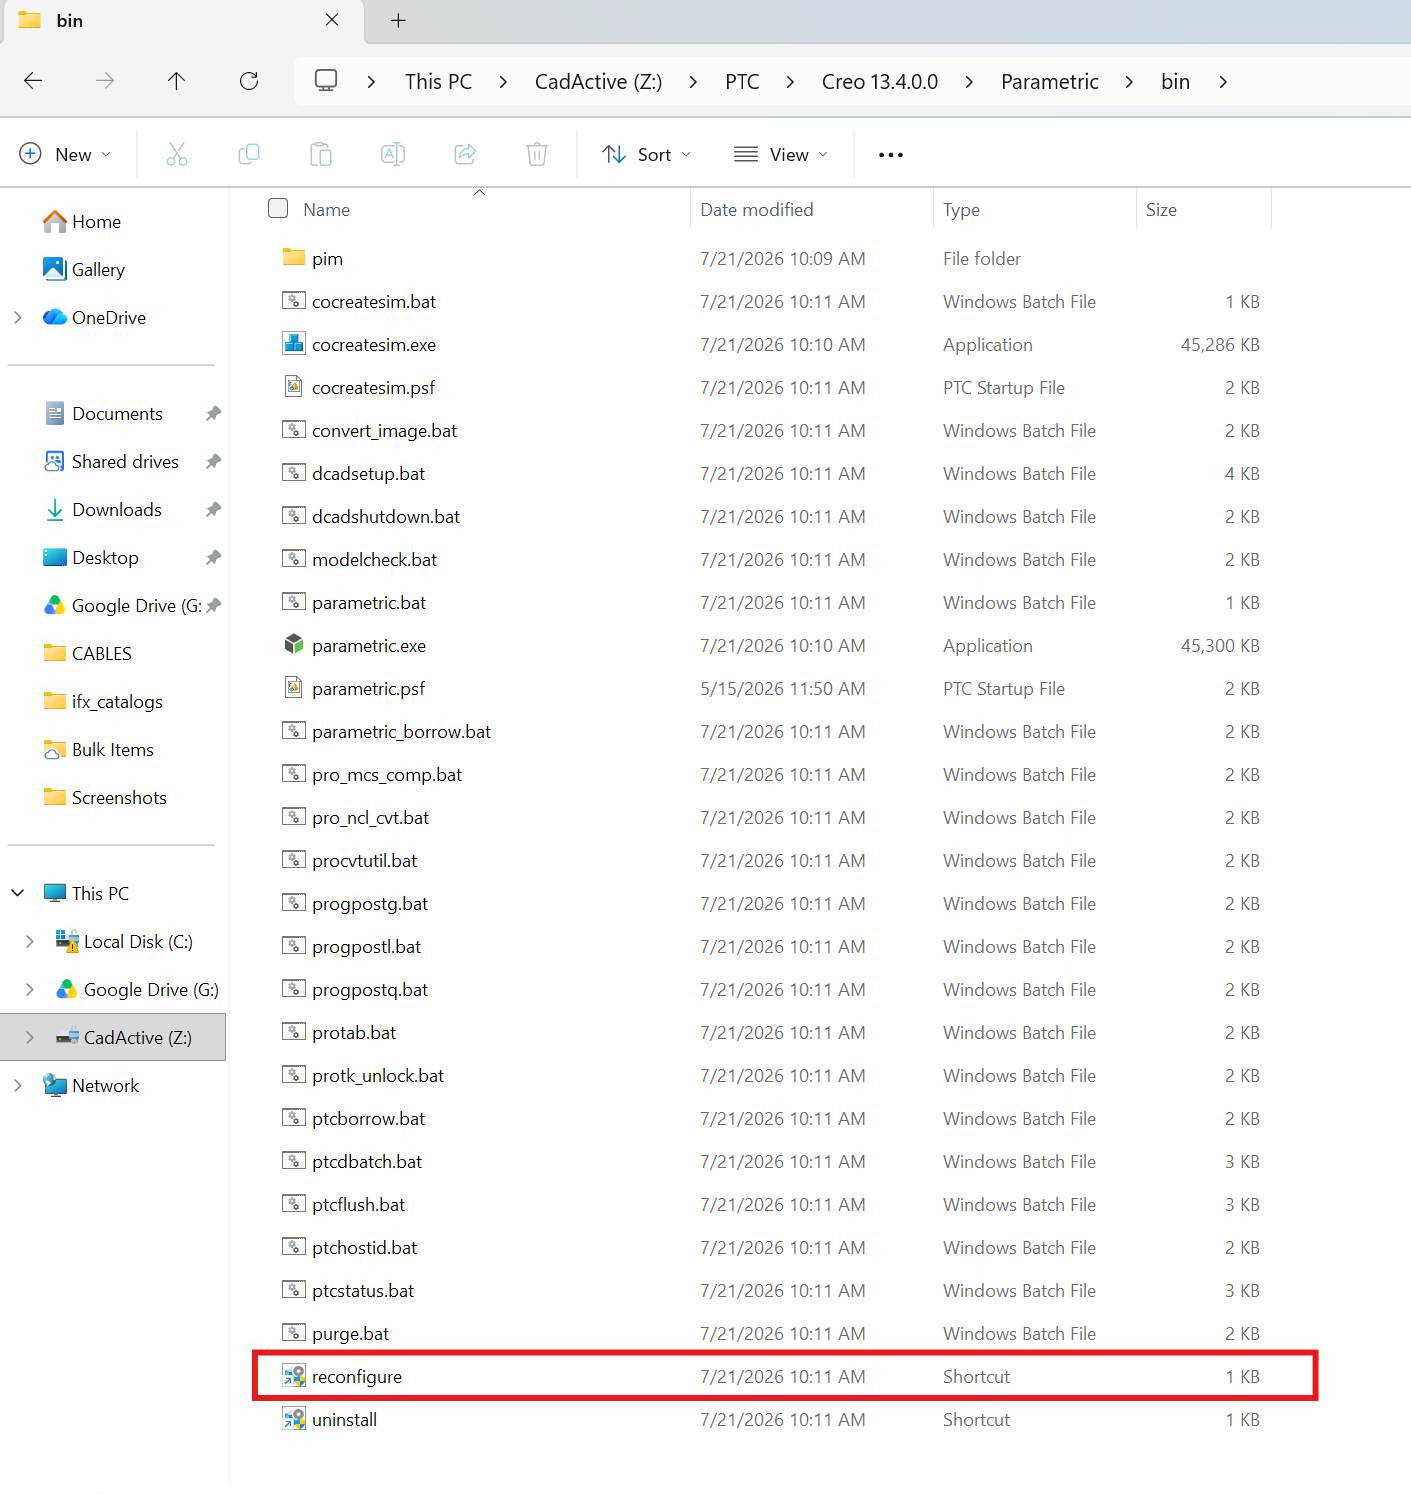
Note: Your exact installation path may vary depending on the Creo version and where Creo was originally installed.
3. Apply the Updated License File
In the PTC Creo Installation Assistant, select the option to Reconfigure existing software or Reconfigure licenses in an existing installation, depending on your Creo version.
Proceed to the License Identification screen.
If your previous node-locked license file is still listed, remove the old license source and add the updated license file.
You can typically add the new file by:
Selecting Add License Source and browsing to the license file, or
Dragging and dropping the license file into the License Sources area.
Verify that the new license is recognized without errors, then complete the reconfiguration.
Tip: Keep a copy of the updated license file in a known location in case the workstation needs to be reconfigured again later.
4. Review the Creo Startup Configuration
If the updated license simply enables a newer Creo release, no additional startup changes may be necessary.
However, if the new license changes the Creo license package or available extensions, review the Creo startup configuration to make sure the appropriate licenses are being requested.
For more information, see:
[Configuring Creo Startup Extensions]
5. Verify the Updated License
After Reconfigure finishes, start Creo Parametric normally.
Confirm that:
Creo launches without a licensing error.
The expected Creo license is available.
Any newly licensed functionality or extensions are accessible.
If the updated license file is rejected or reports an invalid Host ID, first verify that the file was generated for the correct workstation.
For additional Creo reconfiguration and licensing troubleshooting, see: